![]() SG
Placements
SG
Placements
![]() Drop
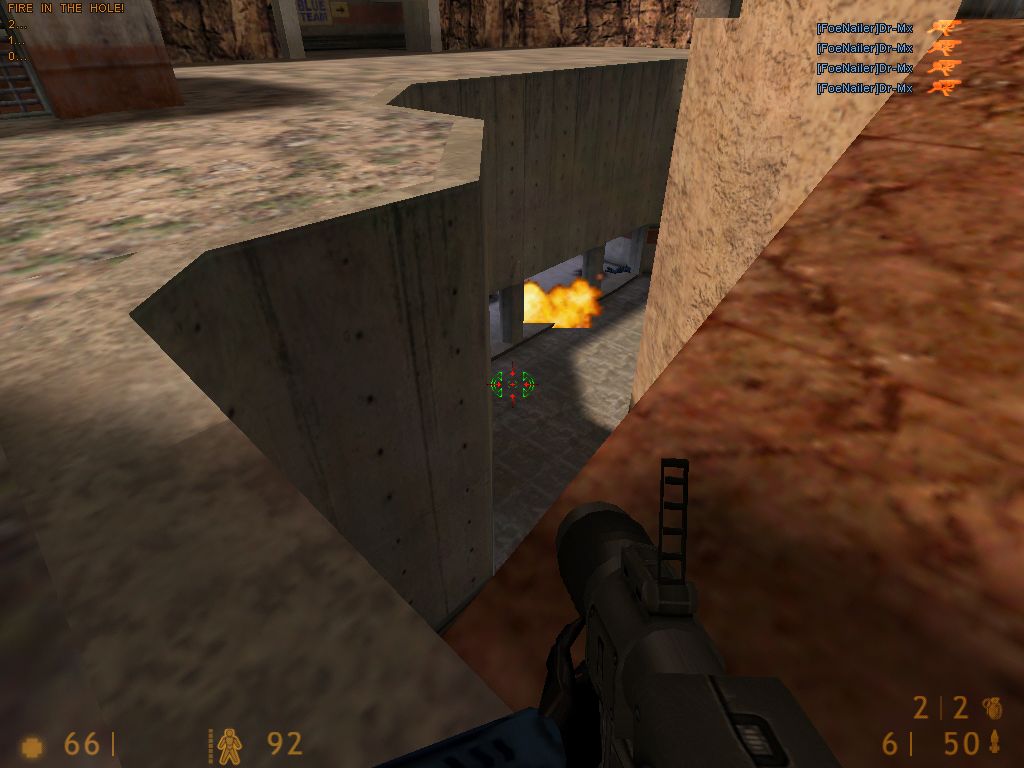
Detpack into Enemy Flagroom
Drop
Detpack into Enemy Flagroom
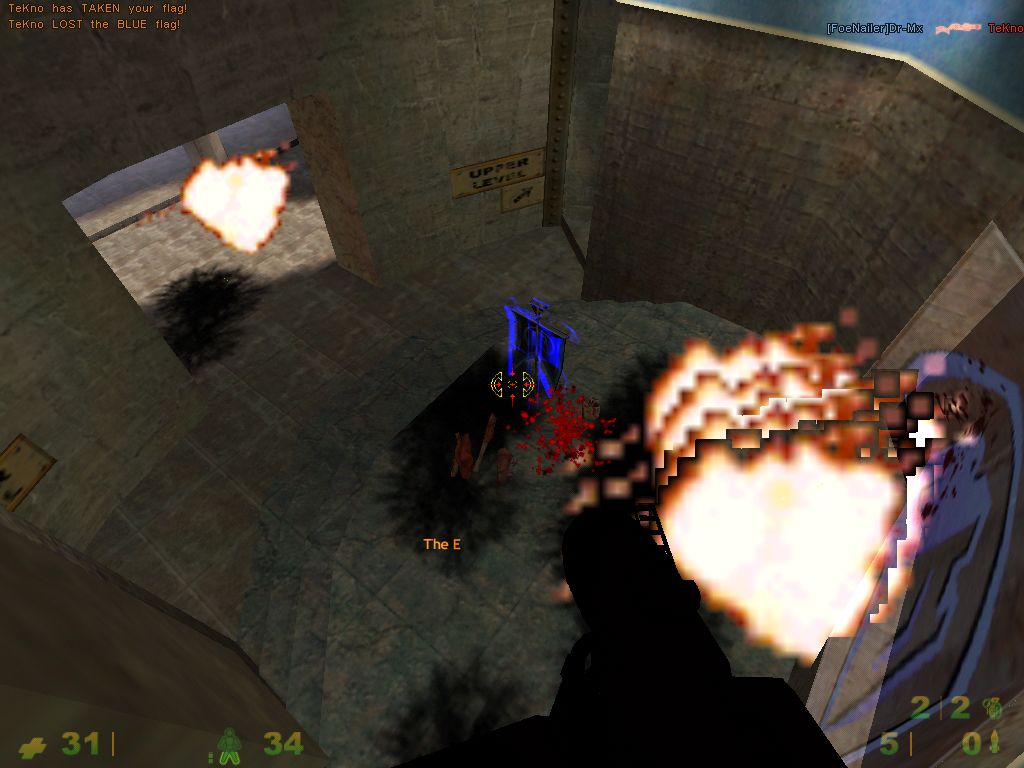
![]() Hiding
Above the Flag
Hiding
Above the Flag
![]() Jump
Down Enemy Lift
Jump
Down Enemy Lift
![]() Hang
on Those Lights
Hang
on Those Lights
![]() Try
Building a SG Under the Lift
Try
Building a SG Under the Lift
"Similar to Two Fortresses, there are two bases separated by a bridge and a water entrance. The flag room is spherical with two escape routes, which leads into a heavily defended respawn area. Setting up defences before a light class can get into your flag area is a key to this map."
As this is a small map, some of the secrets are pretty obvious and there's one or two weird ones.
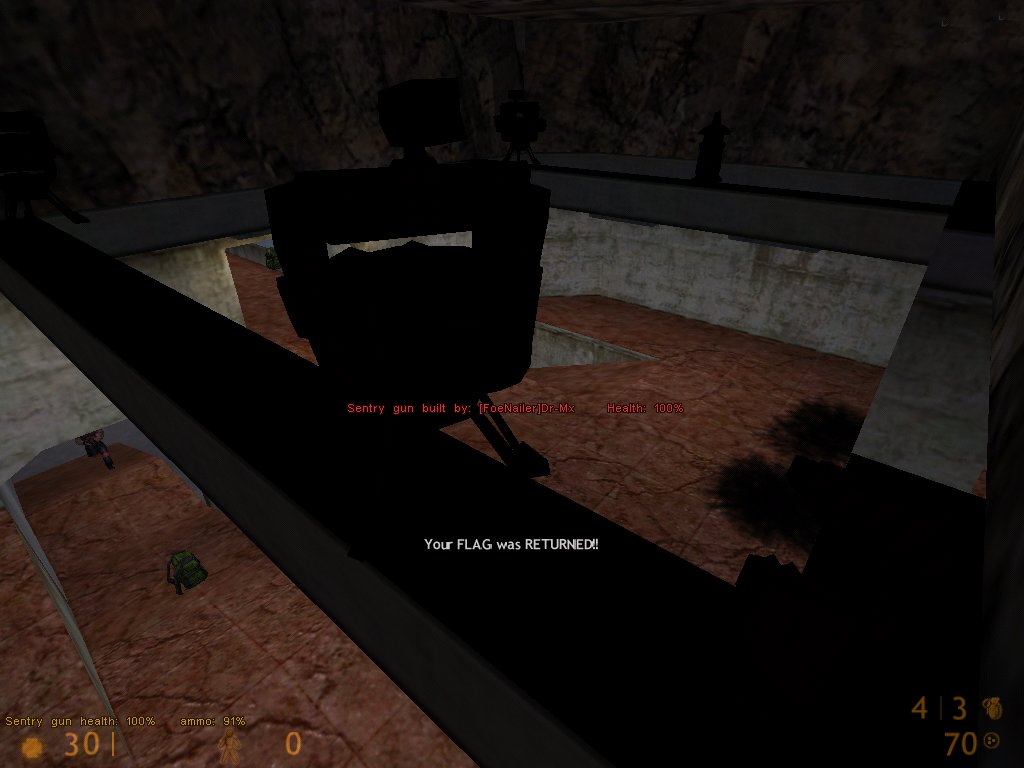
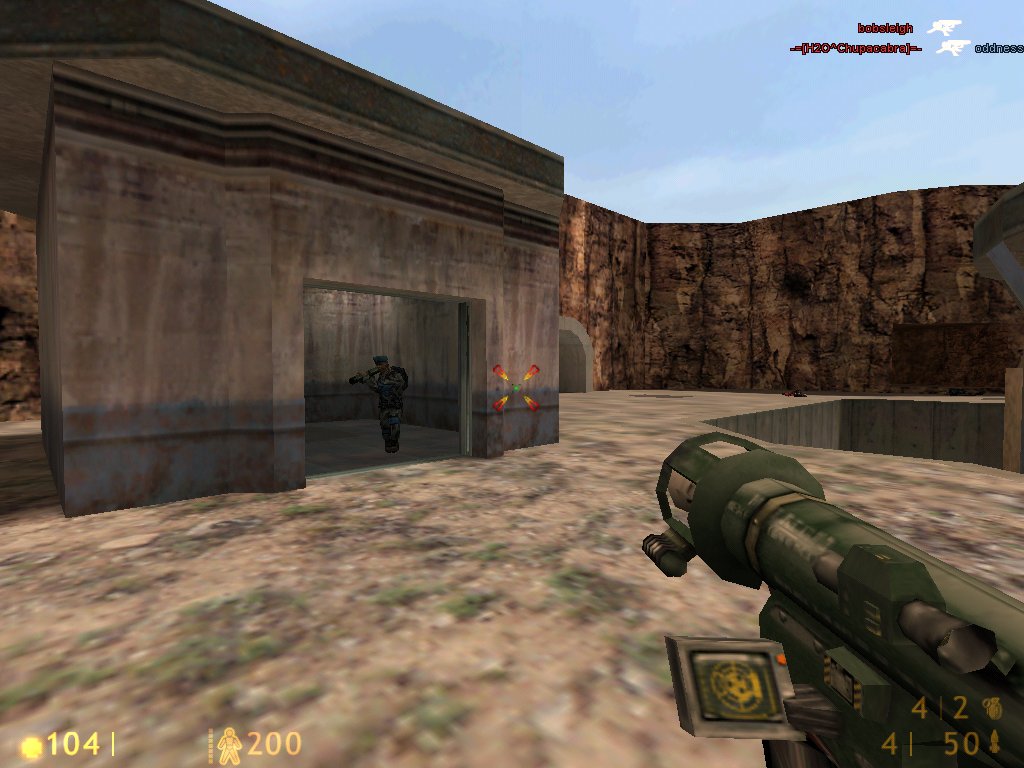
SG Placements
|
|
Go outside of your main respawn area (upper level) and EMP up to the roof beams. It takes a little practice but when you do eventually get up there you can build a SG in the shadows and in a good place for newbie flag runners.
Drop a grenade at the edge of your lift's roof, then jump over to your main roof. Here you can build a SG that will stop anyone from entering your yard easily. Make sure you have a dispenser and lots of ammo because the SG is very exposed. |
|
|
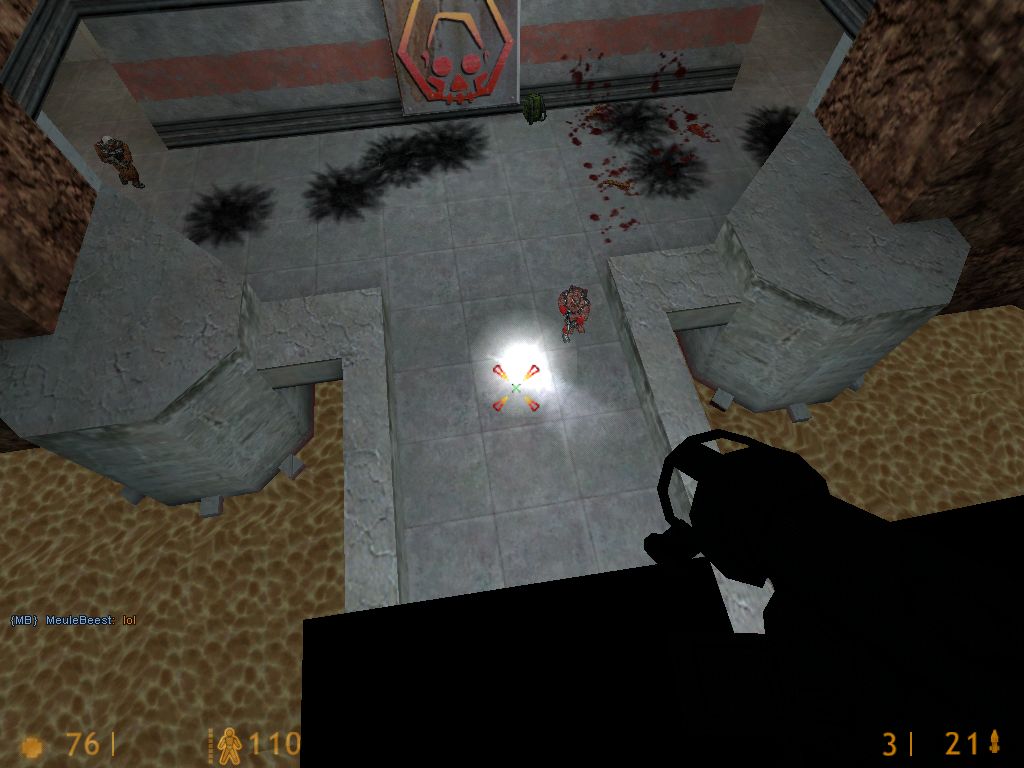
Make sure that the enemy yard is clear then peer over the edge and drop a detpack. This will take out almost all of the defence around the flag letting you jump down and pipe jumping back up, securing victory! |
![]()
|
|
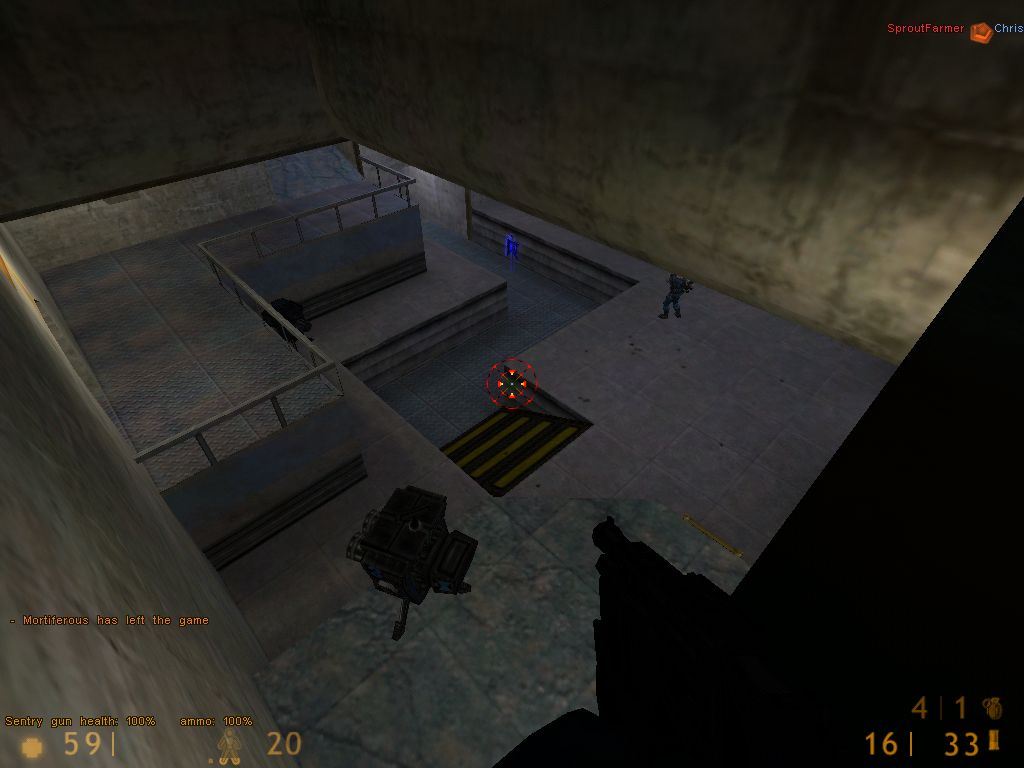
You can get up here easily enough then you have a nice position over the flag. To be very cheeky become a demoman and await for your prey. |
|
|
As simple as this may sound this can work wonders on taking defence by surprise as some of their sgs will now be facing the opposite direction. Just throw a couple of grenades and nailgun the SG behind the flag. |
![]()
|
|
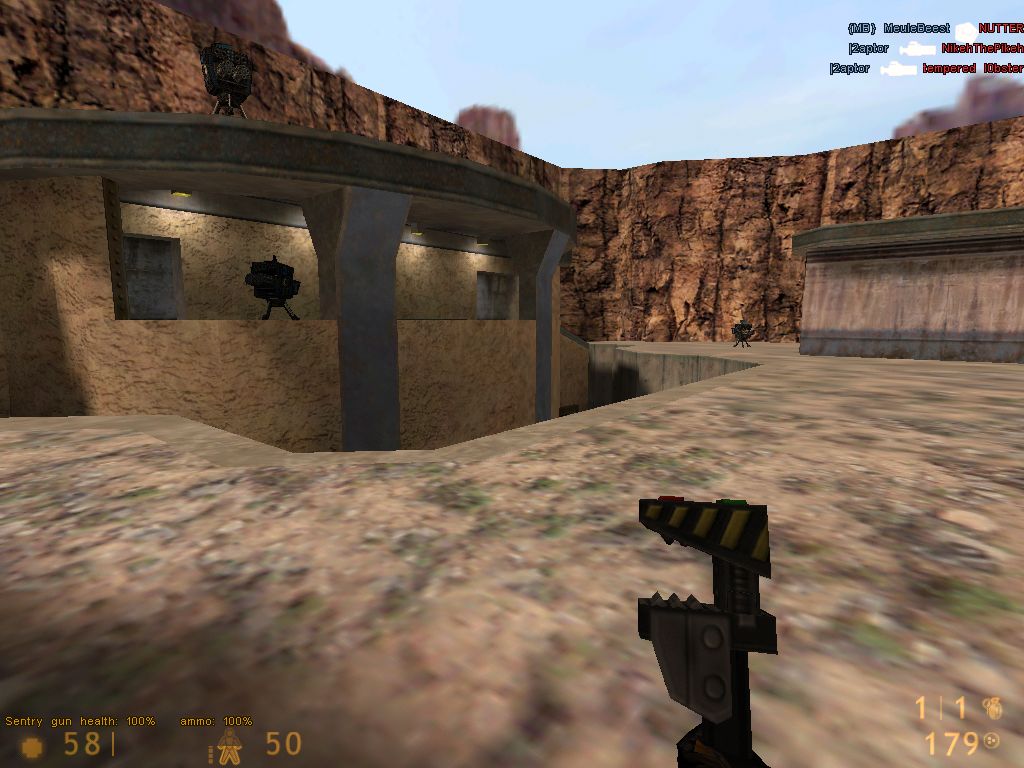
Its easiest to rocket jump up to these but you can use your grenades. |
![]()
|
|
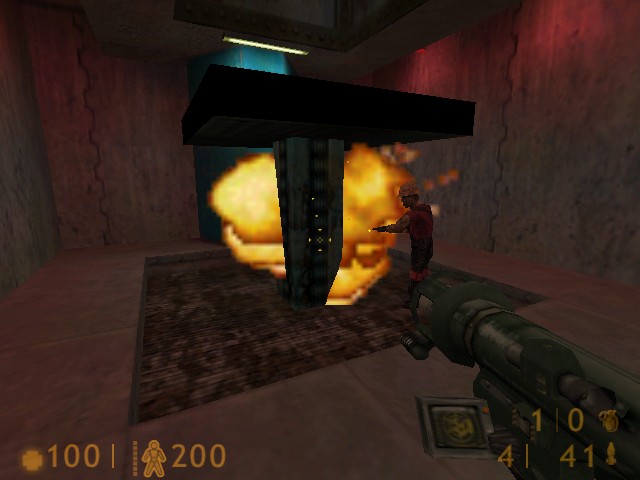
You need to have "one key build" for this to work properly. Just make the lift go up then stand under it and try to build SGs. Lovely explosions to annoy your friends. This will work with any door which you are trying to obstruct
with an SG. |
![]()